YouTube 影片即時語音轉文字 - Azure Speech-To-Text 不專業測試
 |  | 3 |  |
之前玩過 Azure 文字轉語音(TTS),這次反過來,試試語音轉文字。
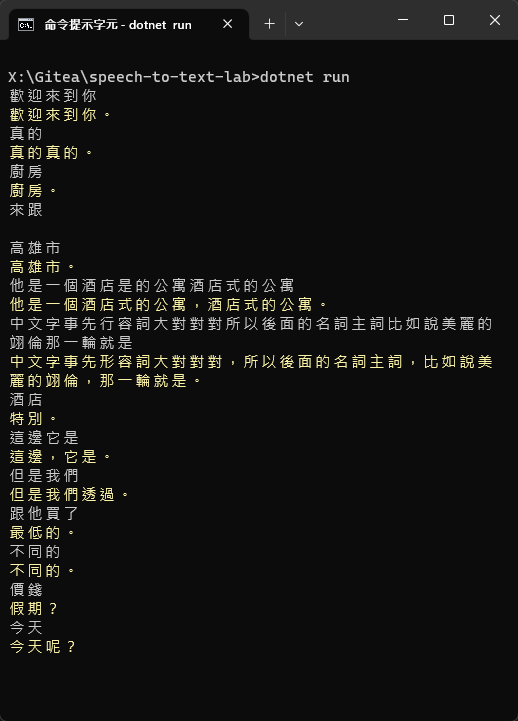
上次已有經驗,加上官方 SDK 程式庫跟文件十分完整,這回玩 Azure Speech-To-Text (STT) 服務過程異常順利,依照教學範例,我很快拼裝出一段由麥克風輸入連續識別成文字的程式。原理是呼叫 StartContinuousRecognitionAsync() 啟動連續識別,過程中每當識別出新的文字就會觸發 Recognizing 事件傳回不斷累加變長的字串;遇到停頓判斷出段落結尾,則會觸發 Recognized 事件,此時服務會試圖理解整段語意校正部分文字並加上標點,依前後文推測該語音所對映的詞彙,正確性比 Recogizing 階段高出不少(但也會有對的改成錯的狀況)。為方便對照,程式以白色文字顯示 Recognizing 的暫訂內容,以黃色文字顯示 Recognized 的最終結果。
using System;
using System.IO;
using System.Threading.Tasks;
using Microsoft.CognitiveServices.Speech;
using Microsoft.CognitiveServices.Speech.Audio;

class Program
{
    static string speechKey = "****";
    static string speechRegion = "eastasia";

    async static Task Main(string[] args)
    {
        var speechConfig = SpeechConfig.FromSubscription(speechKey, speechRegion);
        speechConfig.SpeechRecognitionLanguage = "zh-TW"; // 識別國語

        using var audioConfig = AudioConfig.FromDefaultMicrophoneInput(); // 以預設麥克風作為輸入
        using var speechRecognizer = new SpeechRecognizer(speechConfig, audioConfig);
        var stopRecognition = new TaskCompletionSource<int>();
        var last = string.Empty;

        speechRecognizer.Recognizing += (s, e) =>
        {
            Console.Write(e.Result.Text.Substring(last.Length));
            last= e.Result.Text;
        };

        speechRecognizer.Recognized += (s, e) =>
        {
            if (e.Result.Reason == ResultReason.RecognizedSpeech)
            {
                Console.WriteLine();
                Console.ForegroundColor = ConsoleColor.Yellow;
                Console.WriteLine(e.Result.Text);
                Console.ResetColor();
                last = string.Empty;
            }
            else if (e.Result.Reason == ResultReason.NoMatch)
            {
                Console.WriteLine($"NOMATCH: Speech could not be recognized.");
            }
        };

        speechRecognizer.Canceled += (s, e) =>
        {
            Console.WriteLine($"CANCELED: Reason={e.Reason}");

            if (e.Reason == CancellationReason.Error)
            {
                Console.WriteLine($"CANCELED: ErrorCode={e.ErrorCode}");
                Console.WriteLine($"CANCELED: ErrorDetails={e.ErrorDetails}");
                Console.WriteLine($"CANCELED: Did you set the speech resource key and region values?");
            }

            stopRecognition.TrySetResult(0);
        };

        speechRecognizer.SessionStopped += (s, e) =>
        {
            Console.WriteLine("\n    Session stopped event.");
            stopRecognition.TrySetResult(0);
        };

        await speechRecognizer.StartContinuousRecognitionAsync();

        // Waits for completion. Use Task.WaitAny to keep the task rooted.
        Task.WaitAny(new[] { stopRecognition.Task });

        // Make the following call at some point to stop recognition:
        // await speechRecognizer.StopContinuousRecognitionAsync();
    }
}
我用 YouTube 影片當作測試對象 (將影片聲音轉成麥克風輸入的方法可參考這篇),實驗結果發現說話者的咬字發音、語速、收音品質、有無背景聲對正確率有關鍵影響,播放速度、音量大小也會左右結果,要追求最高正確率,得依每部影片的狀況微調。但話說回來,不管怎麼調都不會百分百正確,使用通用語言模型識別還追求最高正確率的意義不太,簡單抓個 70 ~ 80% 正確就好,剩下靠人工校正會更有效率。真的要追求正確率,不能只靠通用語言模型(Universal Langage Model),Azure STT 也提供方法上傳聲音資料訓練專屬模型,針對特定口音、領域字彙進行最佳化。
而一如大家猜想,新聞主播等級的咬字與口條,效果最好,準確率最高:
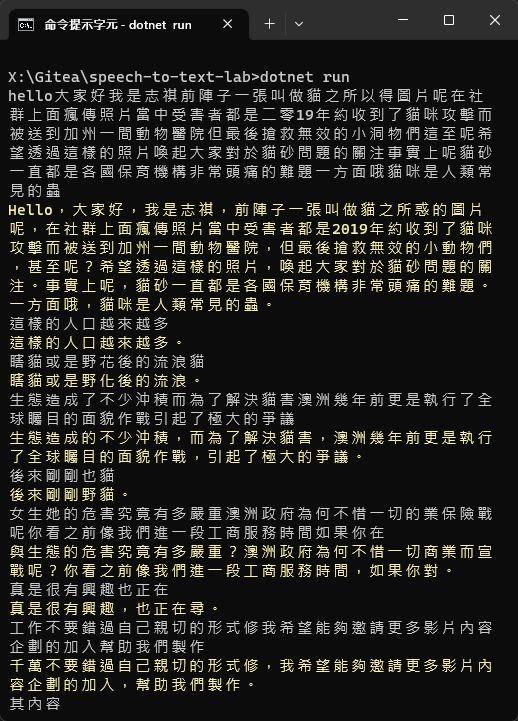
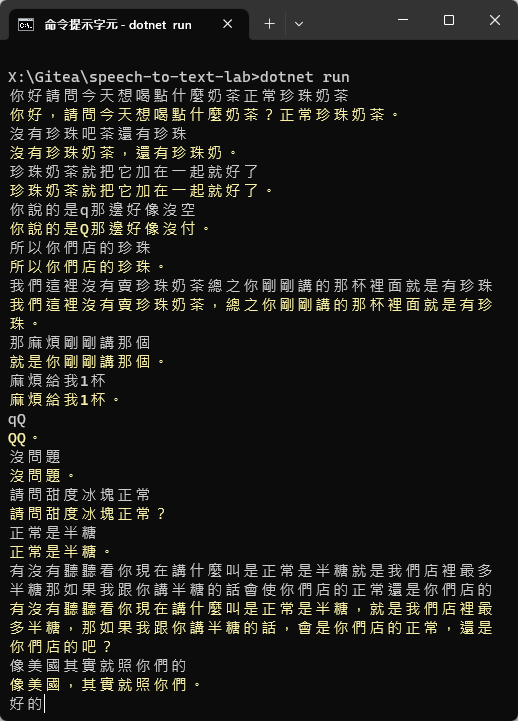
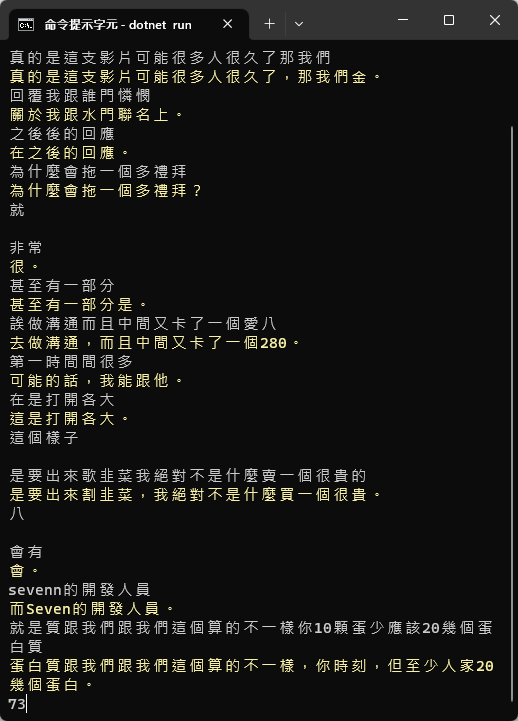
底下我拿了幾個 YouTuber 影片胡亂測試,不說是誰的,大家可以猜猜。(應該不難猜)
(目前的 zh-TW 通用識別模型,字正腔圓的人還是佔便宜,真要做到南腔北調各種口音通吃,得等待在語音識別領域也出現像 ChatGPT 一般的革命性突破)

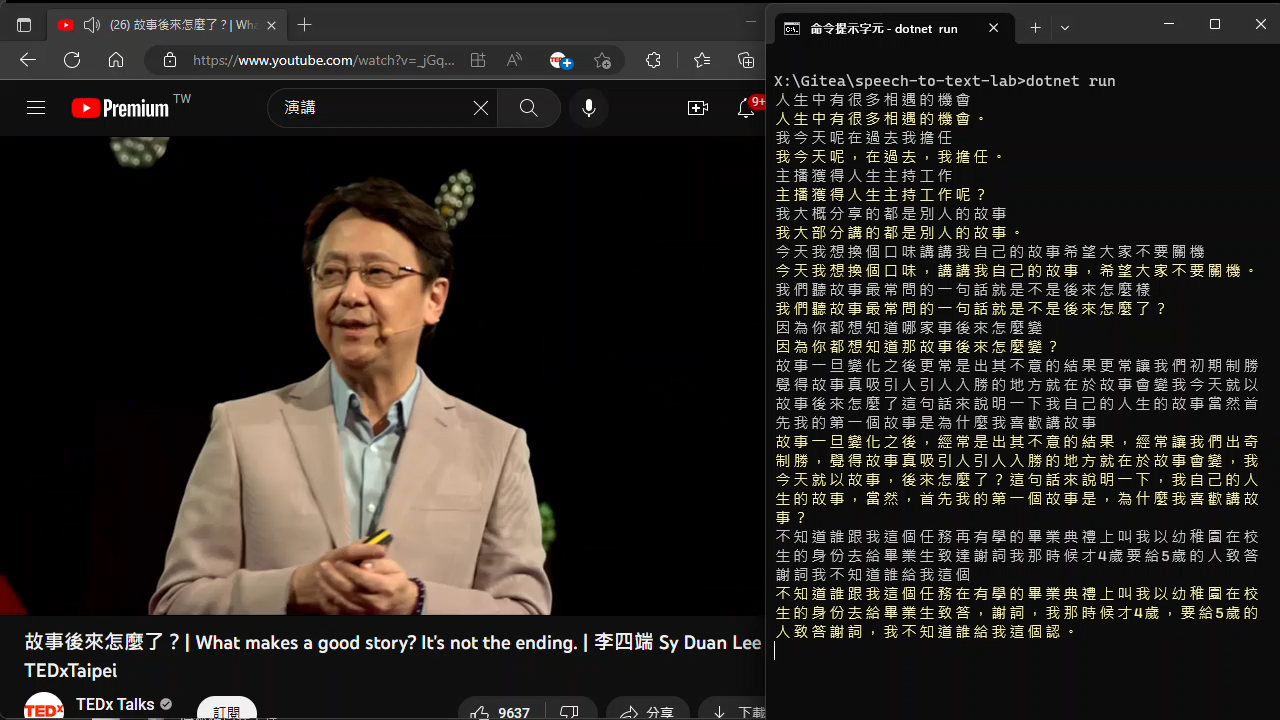
最後附上 Azure STT 識別李四端先生 TED 演請的實測影片,讓大家感受識別速度與正確率。
展示影片
原始影片來源:故事後來怎麼了?| What makes a good story? It's not the ending. | 李四端 Sy Duan Lee | TEDxTaipei
本次不專業測試的小心得:
- Azure STT 的 SDK 程式庫及文件很完整,API 也很簡便直覺,非常容易上手
- 即時連續識別速度挺快,正確率尚可接受
- 若使用通用標準模型識別,正確率依說話者咬字、發音、語速,結果差異極大,字正腔圓時成功率較高
要實現不論口音語速,人聽得懂就能識別的高容錯率,要等待這個領域也出現類似 ChatGPT 等級劃時代突破 - 調整速度及音量都可能影響結果,與其反覆微調追求最高正確率,不如抓七八成準確率再人工校正更符合投資效益
- 若識別對象與內容很集中,要提高正確率可考慮自己訓練專用模型 (例如:讓機器人先認識「QQㄋㄟㄋㄟ好喝到咩噗茶」這個詞彙 )
Comments
# by 鳥毅
朋友說 ChatGPT 的辨識率比較高,黑大要不要比較看看? https://platform.openai.com/docs/guides/speech-to-text https://openai.com/blog/introducing-chatgpt-and-whisper-apis
# by Jeffrey
to 鳥毅,感謝分享,先記下了。天哪,綿綿不絕,永遠學不完 Orz
# by boya
有機會出1F提到的模型使用教學嗎? 謝謝